

Your Hurricane Season Roof Inspection Checklist for South Florida
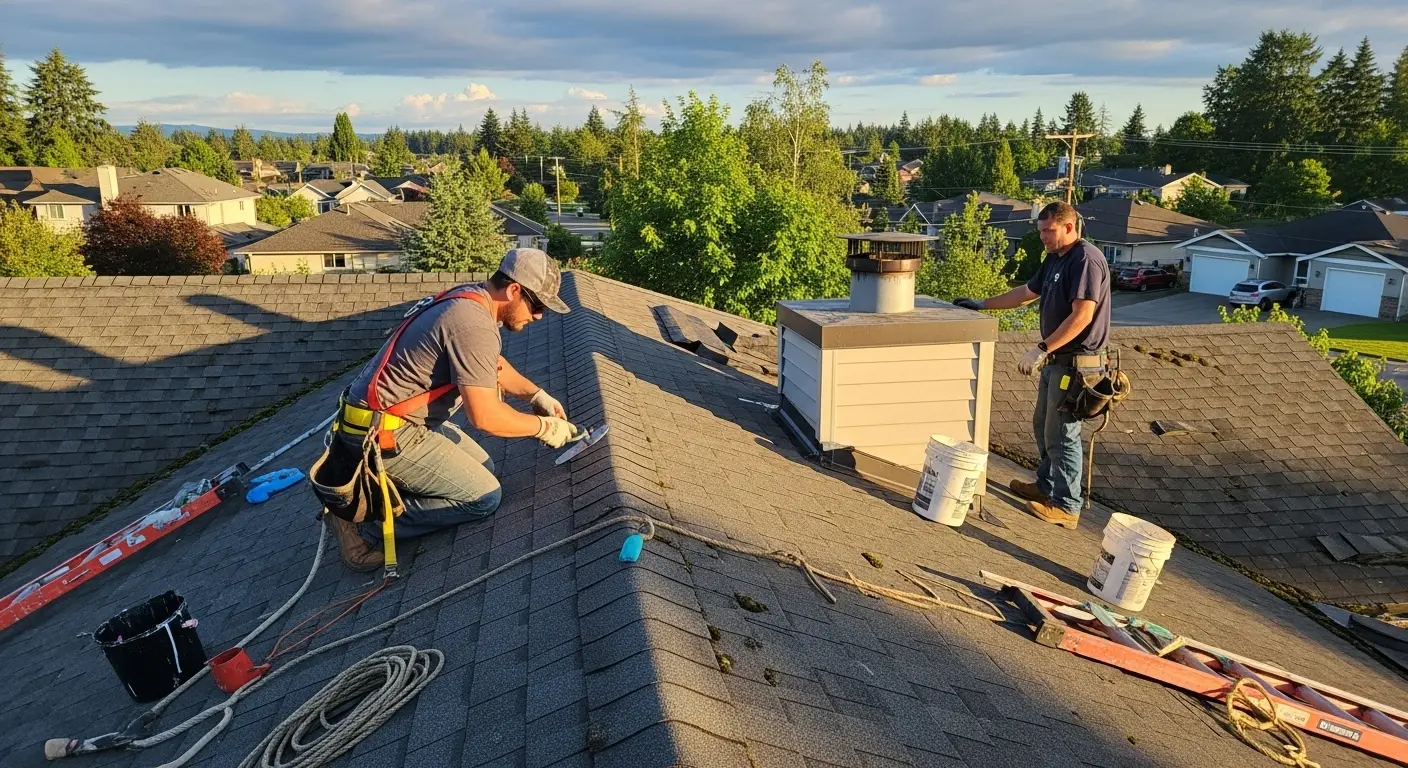
The Atlantic hurricane season officially runs June through November, but the historical peak for South Florida sits in the second half of August and through September. That makes July the last genuinely calm window to find and fix a roof problem without competing with every other homeowner in Broward and Miami-Dade for a crew.
A roof does not usually fail in a hurricane because it was a bad roof. It fails because one small thing was already wrong (a lifted shingle tab, a corroded fastener, a cracked boot around a plumbing vent) and 100 mph of uplift found it. Wind does not attack the middle of the field. It attacks the edges and the flaws.
This is what a real pre-season inspection looks at, in the order we look at it, plus what you can reasonably check yourself from the ground with a phone camera.
The short version
- Wind uplift concentrates at eaves, ridges, corners and any penetration, not in the middle of the roof
- The eight items below account for the large majority of storm claims we see afterwards
- Most of what matters can be spotted from the ground with a zoom lens and a walk around the house
- A documented inspection is also what your insurer will want if you have to file
- Our inspection, measurement and written roof report cost nothing and carry no obligation
Start where the wind starts: the perimeter
Uplift pressure is not evenly distributed across a roof. It is dramatically higher at the eaves, along the rakes, at the ridge and at every corner, which is exactly why the Florida Building Code prescribes tighter fastening patterns in those zones. If a roof is going to peel, it almost always begins at an edge and unzips inward.
So the first thing worth examining is the drip edge and the first few courses of material above it. On a shingle roof, the starter course needs to be properly sealed down; on tile, the eave closure and the first course anchoring; on metal, the edge trim and its fastener spacing.
- Drip edge: is it present, continuous and tight, or lifting away from the fascia?
- Starter course: on shingle roofs, is the first row sealed down or can you see daylight under a tab?
- Rake edges: any material overhanging without support, or trim that has worked loose?
- Corners: the single highest-pressure zone on the roof, so anything lifted here is urgent
Then every hole someone cut in your roof
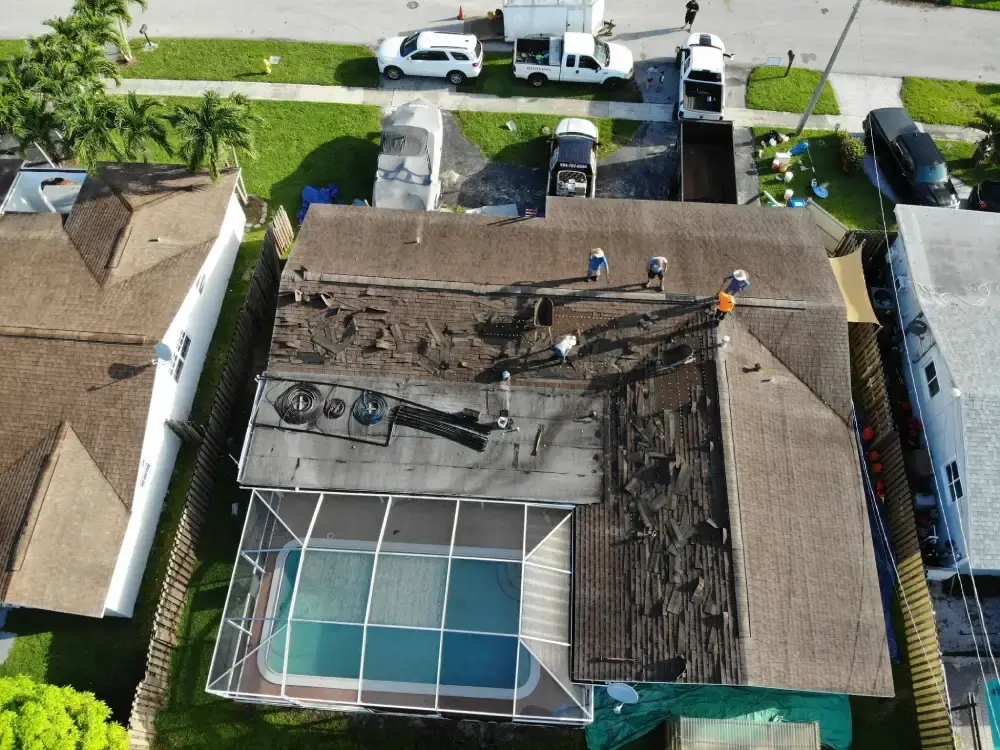
Every penetration is a deliberate hole in an otherwise continuous surface: plumbing vents, bathroom and kitchen exhausts, attic vents, air conditioning line sets, skylights, satellite mounts. Each one relies on a boot, a flashing or a sealant joint to stay watertight, and each of those has a shorter service life than the roof itself.
In this climate the rubber boots around plumbing vents are the classic offender. UV degrades them, they split, and the leak shows up in a hallway ceiling three rooms away because water travels along the truss before it drops. A boot costs very little to replace; the drywall, insulation and paint it ruins does not.
- Cracked or split rubber pipe boots, the most common single-point leak we find
- Sealant at the base of vents and A/C penetrations that has gone hard, chalky or has pulled away
- Skylight flashing and the condition of the curb around it
- Abandoned satellite dish mounts still screwed through the roof surface
- Loose or missing screws on ridge vents and turbines
Pipe boots are the least expensive component on a roof and one of the most frequent causes of interior damage. If yours are original to a roof over ten years old, they are almost certainly due.
Valleys, flashing and the places two planes meet
Wherever two roof planes meet, or a roof plane meets a wall, chimney or parapet, water volume concentrates and the assembly gets complicated. Valleys carry more water per square foot than anywhere else on the roof, and wall flashing has to shed water sideways rather than downhill, which is a harder job.
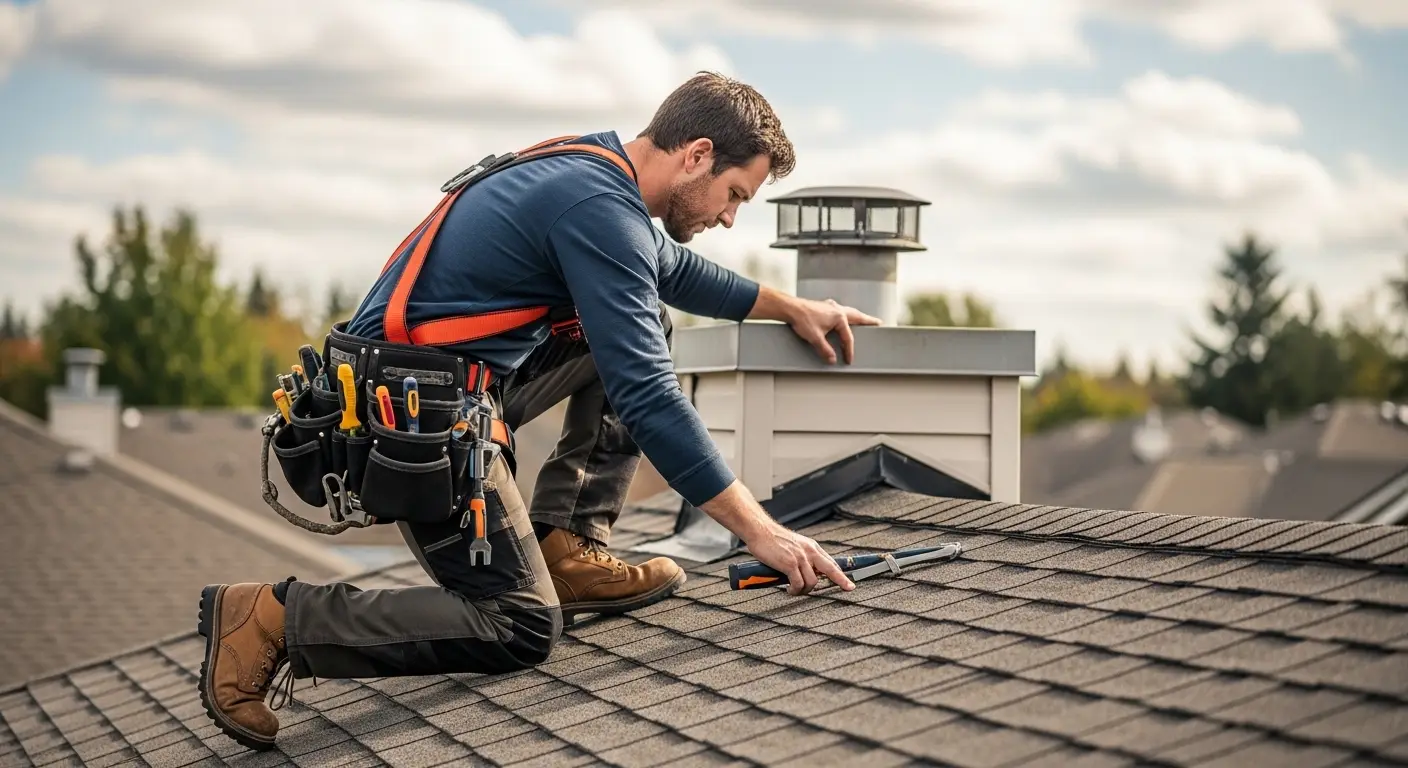
These details are also where inexperienced installers cut corners, because doing them properly takes time. A roof that looks perfect in the field can still be quietly failing at a single step flashing behind a chimney.
- Valley metal that is rusted, dented or filled with debris
- Step flashing at wall intersections that has been caulked over instead of replaced
- Counter-flashing at chimneys that has pulled out of its mortar joint
- Any place someone has applied roofing tar as a repair: that is a patch, not a fix
What you can check yourself, from the ground
You do not need to get on the roof. In fact, please do not: more people are injured falling off Florida roofs each year than by anything the roof itself does. Almost everything worth spotting is visible from the yard with a phone camera at full zoom, and from inside the attic with a flashlight.
- Walk the full perimeter of the house and photograph each roof plane at maximum zoom
- Look for anything that breaks the pattern: a dark patch, a lifted edge, a slipped tile, a shiny spot where granules are gone
- Check the ground and the gutters for shingle granules, which look like coarse black sand
- Open a closet or attic hatch on a bright day and look for pinpricks of daylight
- Run your eye along every ceiling in the house for faint brown rings, and along the tops of walls for bubbling paint
- Note the age of the roof. Shingle systems past 15 years and tile past 25 deserve a professional look regardless of how they appear
What we do on a free inspection, and what you get
We measure the roof, photograph every plane and every penetration, check the deck condition where it is accessible, and document what we find. You get an instant roof report and, if the roof needs work, a written estimate with permits and permit fees already inside the number.
If your roof has five good years left, we will tell you that. We would rather do a $400 repair now and the replacement when it is genuinely due than sell you something you do not need. The second one is how contractors end up with three-star reviews.
- Free on-site measurement and photographic roof report
- Written scope and fixed price if work is needed, permits included
- Documentation you can hand to your insurer
- $0 down financing available with no credit check if the timing is bad
Frequently asked
How often should a South Florida roof be inspected?
Once a year is sensible in this climate, and the natural time is late spring or early summer before the peak of hurricane season. You should also have the roof looked at after any named storm that passes close, even if you cannot see damage from the ground, since most storm damage is not visible from the yard.
Does a roof inspection cost anything?
Ours does not. The on-site measurement, the photographic roof report and the written estimate are free and carry no obligation. Call 954-893-2550 and we will schedule it around your availability.
Will my insurer accept your inspection report?
We provide the photographs and documentation carriers typically ask for, including roof age, material and condition. Requirements vary by carrier, so tell us who you are insured with and what they have asked for and we will make sure the report covers it.
My roof looks fine. Is an inspection still worth it?
The failures that matter in a hurricane are mostly the ones you cannot see from the ground: a fastener pattern that does not meet current code, a boot that has gone brittle, a valley that is holding water. A roof looking fine from the driveway is not evidence that it is fastened correctly.